
An oyster mushroom grow kit is a ready-made, already colonized block of substrate, so your only job is to give it the right place to fruit. That is how UF/IFAS describes the kit route in its oyster mushroom growing guide: buy a colonized kit and set it up in a suitable environment. You skip the spawn run, the pasteurizing and the sterile work. What is left is light, a cooler room, high humidity and fresh air.
What is inside a kit
Our sources describe the kit idea rather than any particular retail product. UF/IFAS says a kit is already colonized, meaning the fungus has grown through the substrate before it reaches you. University of Illinois Extension describes the commercial version: a grow bag with built-in micron filters that let oxygen and carbon dioxide exchange. Illinois is writing about commercial block bags, not retail kits, so check what yours looks like before assuming it matches. Our grow kits guide goes through what to look for in general.
What a kit needs to fruit
The conditions that trigger oyster fruiting are the same whether the block came from a kit or from your own straw. UF/IFAS gives them for the fruiting stage:
- Light. Fruiting is triggered by light and lower temperatures.
- Temperature. About 20°C (68°F) to start fruiting.
- Humidity. About 90% in UF’s fruiting chamber, held with humidifiers or foggers. Cornell’s fruiting room held 85%.
- Fresh air. Good air exchange, so carbon dioxide does not build up while humidity stays high.
| Stage | Temperature | Humidity | Light | Fresh air | Notes |
|---|---|---|---|---|---|
| Fruiting (pinning) | 68°F (20°C) | 90% (UF); 85% (Cornell) | Needed to trigger pins | Good air exchange (UF) | Not stated |
| Harvest and flushes | Not stated | Not stated | Not stated | Not stated | Pick with caps still curled under. UF: 2–4 more flushes after the first. Wisconsin bucket: keep misting and harvesting for about 4 weeks. |
You do not need a chamber that precise. Wisconsin’s bucket guide shows a simpler way to hold humidity for a home container: once pins start growing, remove the bag and spray the outside of the container with water to maintain high humidity. A kit may come with its own instructions for opening the bag, and those should win over anything general.
Harvest and flushes
Pick clusters while the caps are still curled under, by twisting and gently pulling or cutting flush with the substrate. UF/IFAS says that after the first flush there should be two to four more, depending on the strain and the environment. Wisconsin’s advice is to keep spraying and harvesting for about four weeks, or until the container stops producing. The full routine is in our oyster mushroom harvesting guide.
What contamination looks like
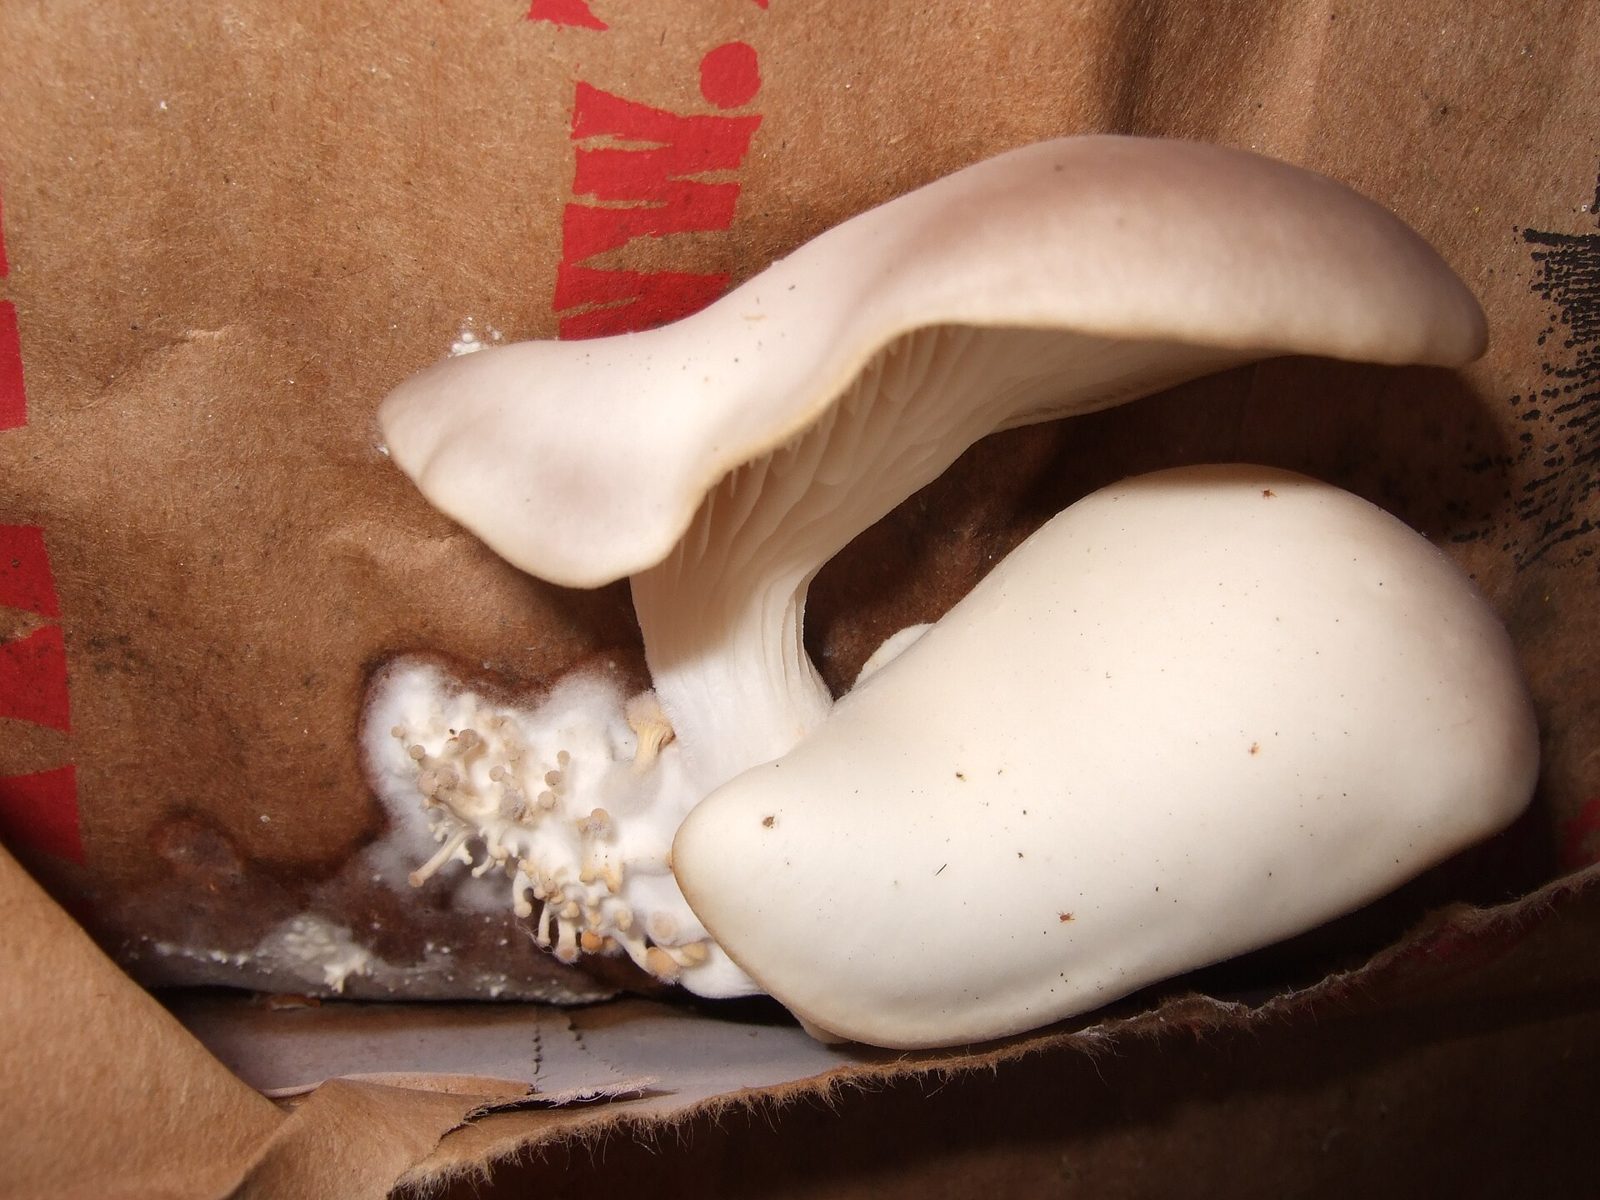
A kit is not immune. UF/IFAS tells growers to look closely for blue, green, black or yellow spots, and says Trichoderma, one of the common contaminants, is characterized by rapid greenish growth. Generally, contaminated bags, especially highly contaminated ones, are best removed and discarded. Keep insects and rodents away from the kit, too. For a closer look at what to do, see our mushroom contamination guide.
When a kit is done
A spent kit is not the end of your growing. If you want to keep growing after the kit, our guide to growing oyster mushrooms in buckets and bags covers Wisconsin’s bucket method and UF’s straw bags, which let you grow from spawn instead of a finished block. If you want to try a second species, shiitake can also be grown from sawdust blocks.
What our sources do not tell you
We found no source that gives a shelf life for a kit, how to store an unopened one, or a day count from opening to first pins. We also found no guidance on how to open a particular kit’s bag. Those details depend on the maker, so read the instructions that came in the box and treat the conditions above as the general targets they are aiming for.
Frequently asked questions
How long does an oyster mushroom grow kit take to fruit?
None of our extension sources give a time for a retail kit, so follow the maker's instructions. For reference, UF/IFAS says the fruiting stage of its home straw method starts around three weeks after the bags go into the dark, and a kit arrives already past that colonization stage.
Do I need to sterilize anything with a kit?
No. UF/IFAS describes a ready-made kit as already colonized, so you only set it up in a suitable environment for fruiting.
How many harvests can I get from one kit?
UF/IFAS says that after the first flush there should be two to four more, depending on the strain and the surroundings. Wisconsin's bucket guide says to keep misting and harvesting for about four weeks or until the container stops producing.
What do I do if my kit grows green mold?
UF/IFAS says blue, green, black or yellow spots signal contamination, and that heavily contaminated bags are best removed and discarded.
Sources
- D.I.Y. FunGuide: Grow Your Own Oyster Mushrooms at Home (SL448/SS662), University of Florida IFAS Extension
- Block Farming, University of Illinois Extension
- Growing Mushrooms in Buckets, University of Wisconsin Extension, Forestry and Wildlife
- The Science of DIY Mushroom Substrates, Cornell Small Farms